
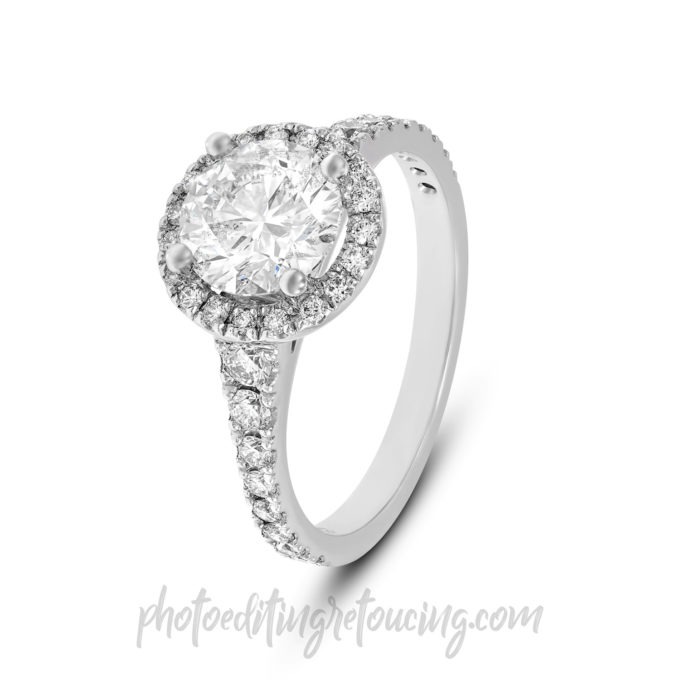
A jewelry image retouching guide on how to retouch the shank of the jewelry rings
Many people wonder how we do our jewelry retouching process and today I will explain how we retouch shanks. This is I would say most often used feature in jewelry retouching. I will demonstrate how to get a natural looking jewelry shank to mimic the real jewelry shank.
Shanks in jewelry photography are usually damaged by photography wax. The wax that helps jewelry stay in a specific position usually covers the shank and the bottom part of the jewelry.
With jewelry retouching, we are able to remove that wax. You see, the wax is not strong enough to keep the ring standing in a vertical position when we photography jewelry. That is why many jewelry photographers use wax not only on the further bottom part of the ring but also covering the inner shank of the ring.
Here I will demonstrate 4 different images in jewelry retouching where the shank is damaged and needs to be retouched.
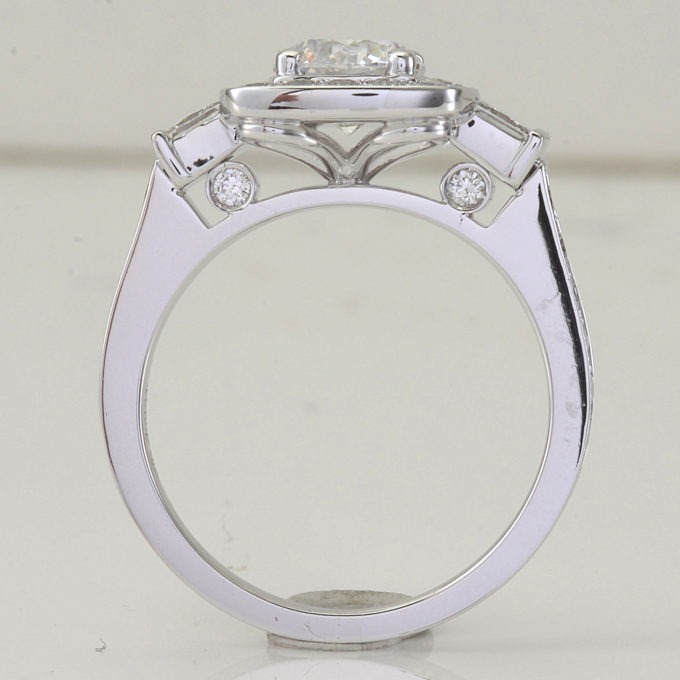
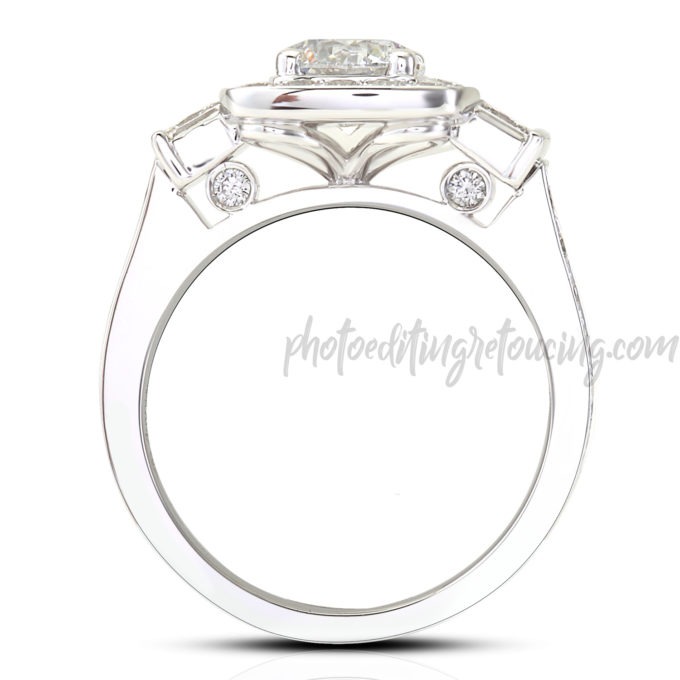
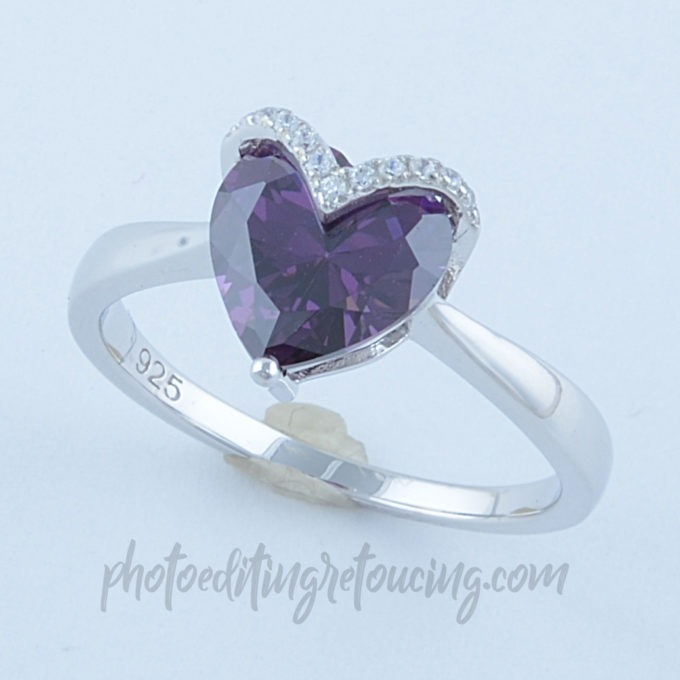
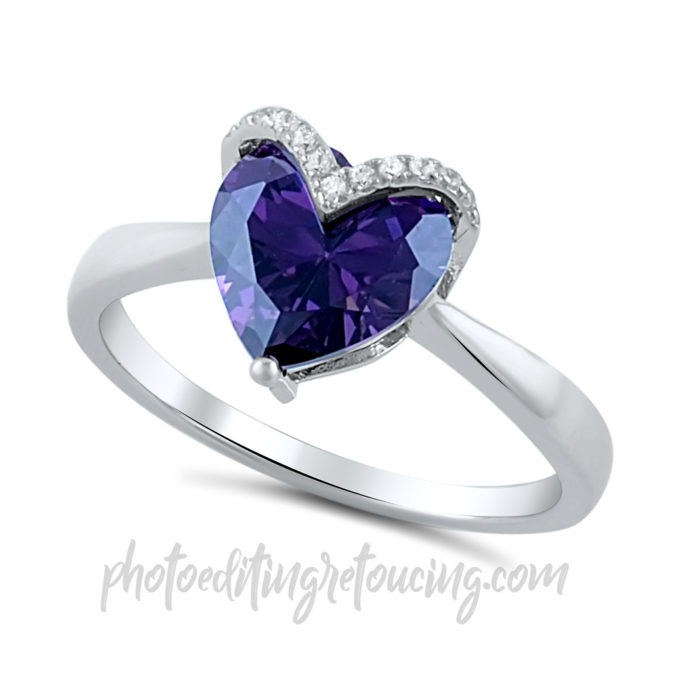
SAMPLE 1 SHANK RETOUCHING WAX
This jewelry photographer did a splendid job. He was able to use the wax in a way, to keep the jewelry piece standing upwards without covering the important parts of the ring. In this case, we did not have to recreate the shank from scratch, because the wax was not covering the front part of the shank.
SAMPLE 2 SHANK RETOUCHING METAL CLAMP
This sample represents how many companies do jewelry photography. They just clamp the jewelry ring down with a metal clamp. In the process of jewelry retouching, we need to remove that clamp with Photoshop which is sometimes a tedious job especially if the clamp is very big and is covering a large surface of the jewelry piece. WIth jewelry retouching, we are able to remove the clamp like it was never there. Here is one sample where you can see before and after of jewelry retouching of a metal clamp covering the shank.
SAMPLE 3 SHANK RETOUCHING WAX COVERING THE SHANK
In this sample we needed to recreate the part of the shank because the wax covered large surface of inenr shank. WIth jewelry retouching process it is quite easy to fix this.
The next process is, of course, making an artificial shank surface.
I will demonstrate few samples.
Jewelry Retouching Shank Sample 1
We will just use the images from before. We used a special gradient where we simulated the strobes in jewelry photography setup. You can see how we mimic the real reflections of the light going from grey to white on the surface of the shank. At the edge, we added some really dark and visible black reflection, that simulated the 3D look of the ring.
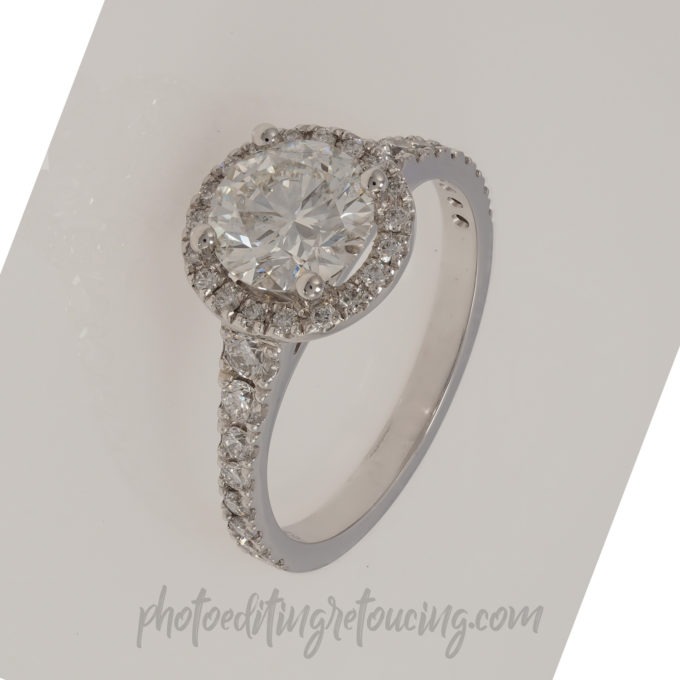
Jewelry Retouching Shank Sample 2
In this jewelry ring, we only used a pure gradient in the jewelry retouching process, without the strong black reflection. It all depends on the client instructions. There is a think black border around the outer side of the inner shank, to further show the depth of the ring.
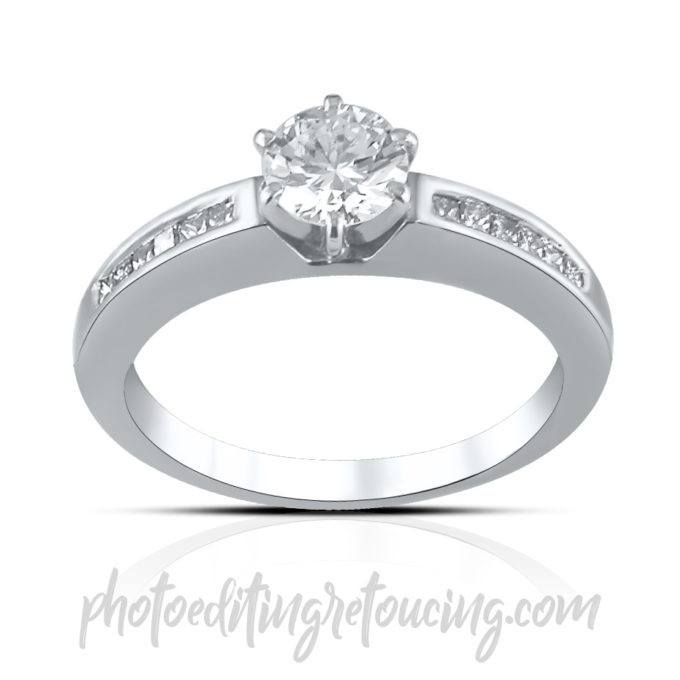
Jewelry Retouching Shank Sample 3
In this case, the shank was completely clean. We used jewelry retouching just to tidy up the surface. We did not have to remove the wax or the clamps at all. Clients like these are the best. We culd keep the original surface of the shank. Doing perfect jewelry photography helps in jewelry retouching process tremendously.
We are finishing this lesson